Notice : Before You Begin The Installation Work
These Are General Installation Instructions Only. The Information On These Pages Is To Assist & Guide You The Appropriate Rubber Tile Installation For Your Project. Special Conditions May Result In Different Recommendations.
 Suitable substrates include but are not limited to permanently dried concrete and wood.
 To eliminate the telegraphing effect of defects in the substrate through the flooring, the substrate must smooth.
 Moisture in the substrate negatively affects an adhesive product and should be eliminated prior to installation.
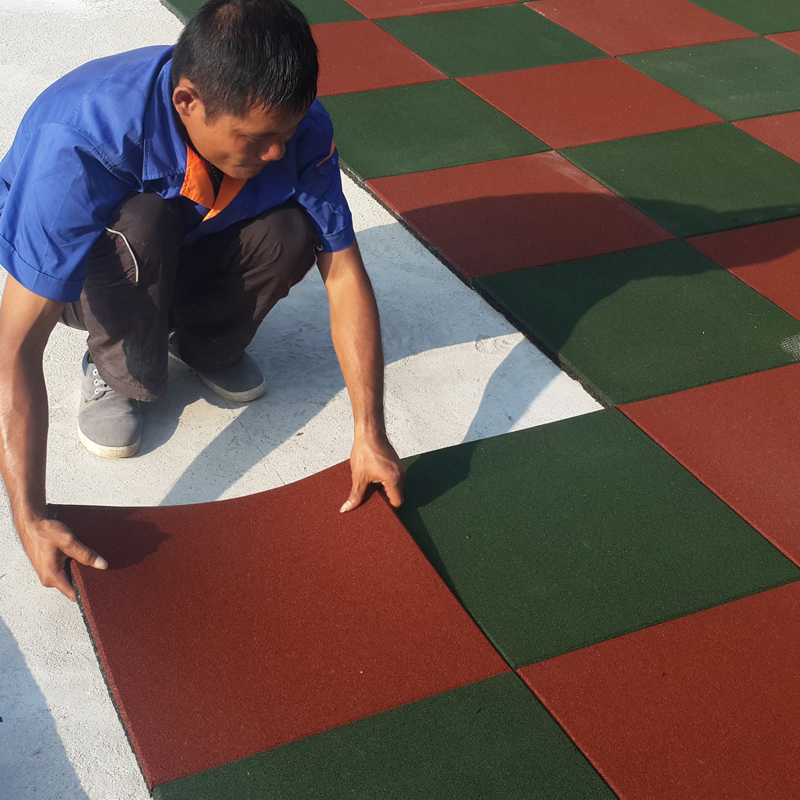
✅ Inspect flooring prior to installation for manufacturing defects, correct colours, and size. See warranty statement for details
✅ Be sure the sub-floor is smooth, clean, dry and free of dust or contamination. If rubber tiles are to be installed, cut to fit before spreading adhesive.
✅ For the best result, rubber tile, room and adhesive should be 70°F (21°C) 48 hours prior to, during and after installation.
✅ Apply adhesive with a notched spreader having notches 1/16″ deep, spread 1/16″ on centers. Apply only to an area of such size that tile can be set while adhesive is still wet. Avoid letting the adhesive skin over.
✅ Set tile in place immediately. Lift a newly set spot occasionally to be sure adhesive is transferring to back. Press tile in firmly with hands.
✅ Immediately after installation, roll the flooring with 100 to 150 pound sectional rollers. For tile installations begin at one side and proceed slowly to the other. All installations should be rolled in both directions. IT may be necessary to weight the seam until a suitable bond has been established.
✅ Wet adhesive smears should be removed immediately with a damp cloth. Dry adhesive can be cleaned with mineral spirits. Be careful: mineral spirits are harmful to floor coverings and will ruin the adhesive bond if it gets under the floor covering.
✅ Do not place playground equipment, furniture. Allow traffic, or institute general cleaning procedure until 48 hours after installation.
Approximate coverage 100 square feet per gallon.
