Notice : Before You Begin The Installation Work
These Are General Installation Instructions Only. The Information On These Pages Is To Assist & Guide You The EPDM Flooring Installation For Your Project. Special Conditions May Result In Different Recommendations.
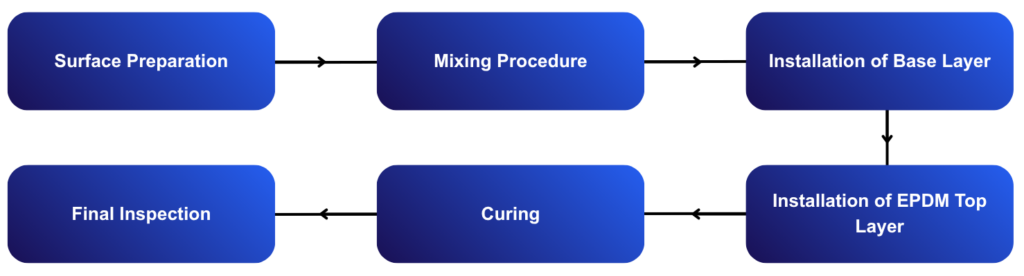
Installing EPDM flooring requires attention to detail and following proper steps to ensure a high-quality result. It is crucial to follow this installation guide to ensure the EPDM flooring is installed correctly and delivers optimal performance in the long run.
Temperature: 10°C–35°C
Relative humidity: <85%
Dry substrate required
No rain or standing water during installation
For optimal performance, a solid, level, and well-drained concrete or asphalt base is recommended. Before Installation, the substrate should level, structurally sound, be clean, dry, fully cured, and free from cracks, loose particles, oil, grease, or other contaminants that may affect adhesion.
Once the substrate has been properly prepared, apply a primer IF REQUIRED by blending the recommended thinner with the polyurethane binder and distributing it evenly across the surface using a roller or brush. Allow the primer to reach a tacky state before commencing the installation of the rubber flooring.
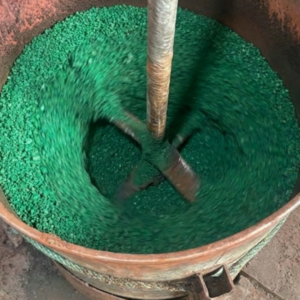
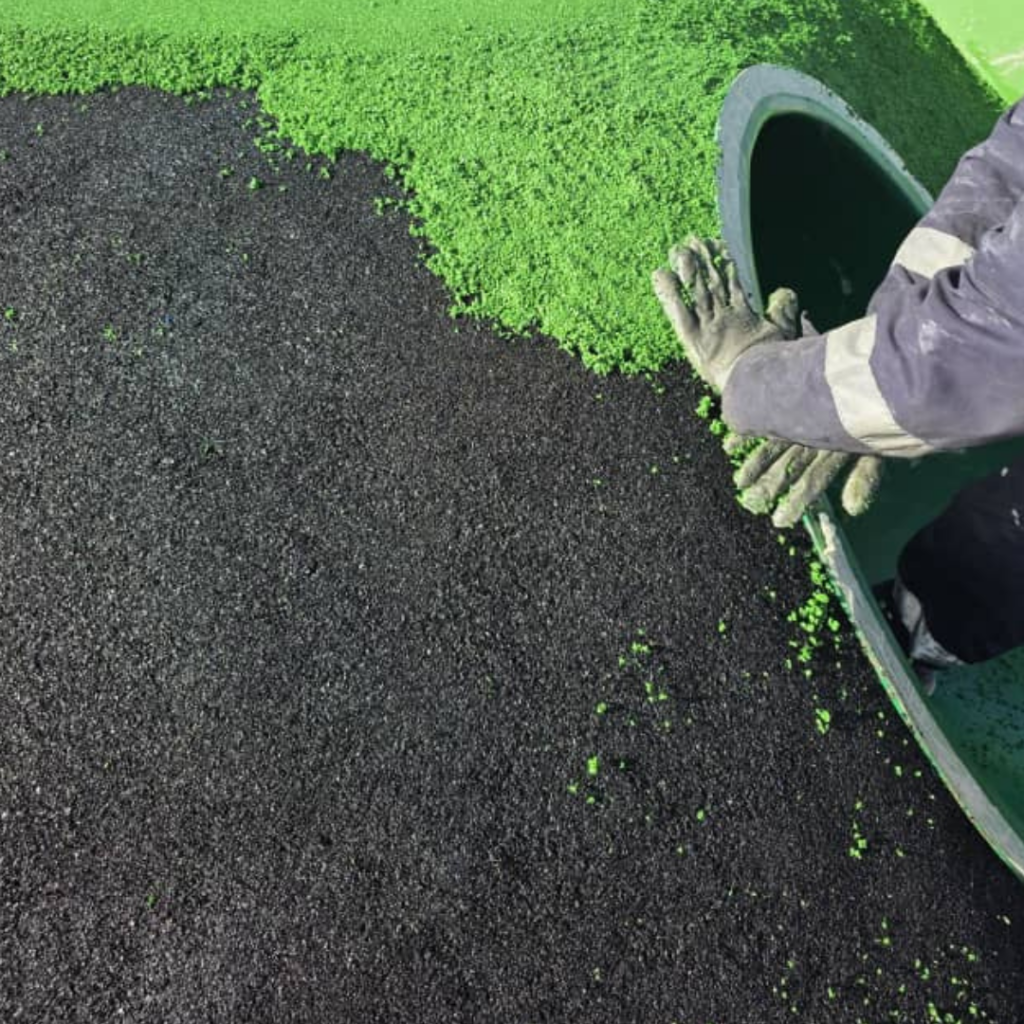
The base layer consists of SBR (Styrene-Butadiene Rubber) granules combined with a polyurethane binder. Mix the materials using a suitable mixer for approximately two minutes, or until all granules are uniformly coated with the binder. Once mixed, pour the material onto the primed substrate and distribute it evenly using a rake, screed bar or trowels.
Carefully level and compact the SBR layer to achieve the specified thickness, density, and surface uniformity. Proper compaction is essential to ensure optimal shock absorption, load distribution, and long-term structural integrity. Where varying thicknesses are required, such as in designated fall protection zones, use depth gauges and pre-marked chalk lines in accordance with the approved installation layout to ensure compliance with the applicable safety and performance standards.
Mix the EPDM granules with the recommended binder ratio specified by the manufacturer. Ensure the mixture is thoroughly blended until a consistent and uniform composition is achieved, while avoiding excessive mixing as it may accelerate the curing process.
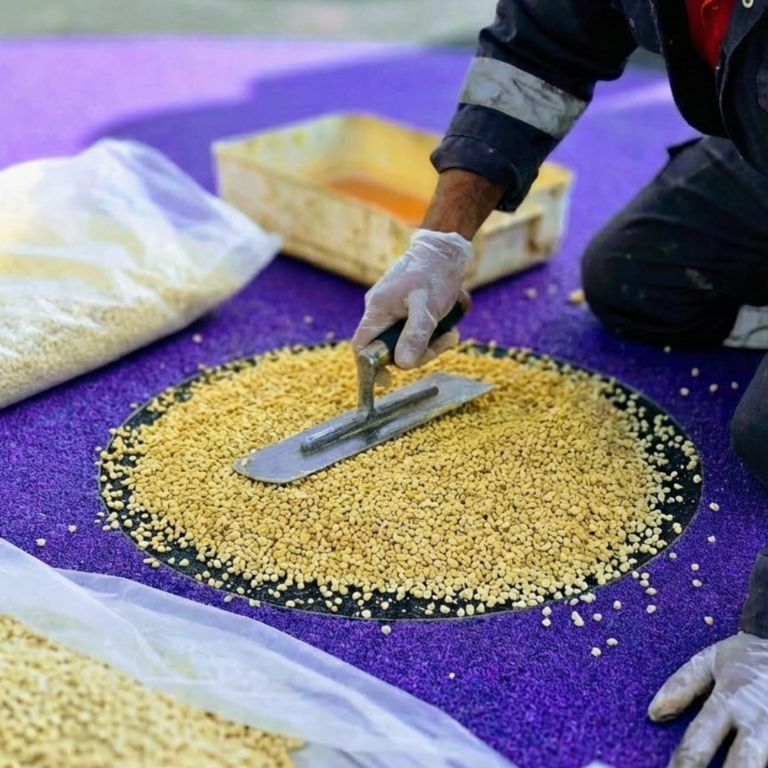
Apply the EPDM mixture evenly onto the fully cured SBR base layer using suitable trowels or a mechanical paver. For smaller installation areas, hand trowelling is generally adequate; however, for larger playgrounds or sports court applications, the use of a mechanical paver is recommended to achieve a consistent thickness and professional surface finish.
Smooth the EPDM surface to the required thickness, typically between 10–15 mm, and ensure the completed surface is free from gaps, pinholes, voids, or uneven areas.
Light foot traffic: 24 hours
Full curing: 48–72 hours, may vary depending on temperature, humidity and the size of installation area.
Protect surface from rain, dust and heavy loads during curing. Installation should be avoided during rainy conditions, as moisture can interfere with the binder curing process and may result in surface defects. Always check the weather forecast before installation and ensure that any unfinished or curing areas are properly protected if unexpected rainfall occurs.
Check surface smoothness, colour uniformity, bonding strength, thickness and absence of defects or loose granules.
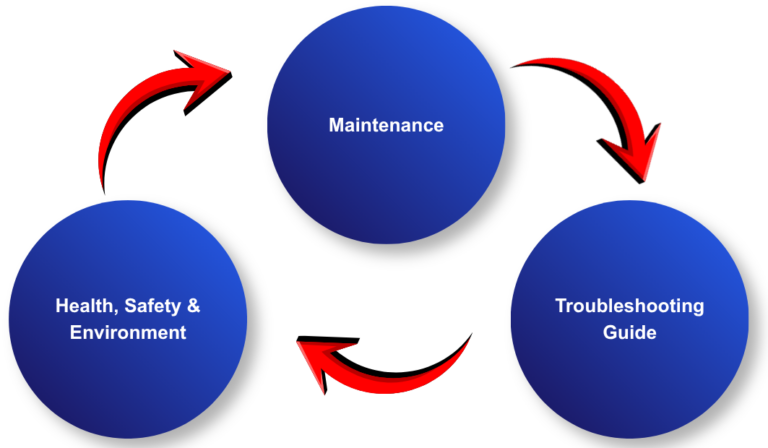
Sweep the surface routinely to remove dirt, debris, and other contaminants, as sharp objects may cause damage to the surface wear layer. Regular cleaning with water. Avoid harsh chemicals and solvents, as these may weaken the binder and affect the integrity of the flooring system. Conduct periodic inspections and repair damage promptly to prevent further deterioration and maintain the long-term durability of the surface.
Loose granules: insufficient binder or poor mixing
Peeling: poor surface preparation
Soft/uncured surface: moisture or incorrect ratio
Colour variation: different batches or mixing inconsistency
Air bubbles: trapped moisture or poor substrate condition
Cracking: substrate movement or insufficient thickness
Slow curing: low temperature or high humidity
Corrective Procedure
Stop installation immediately. Isolate defective area. Identify root cause. Remove defective material. Reinstall using correct procedure. Record corrective actions.
Wear PPE including gloves, safety glasses, and protective clothing. Follow SDS for all materials. Ensure proper ventilation. Dispose of waste responsibly and avoid environmental contamination.
Maintain records including batch traceability, inspection reports, installation logs, NCRs, and handover documents.