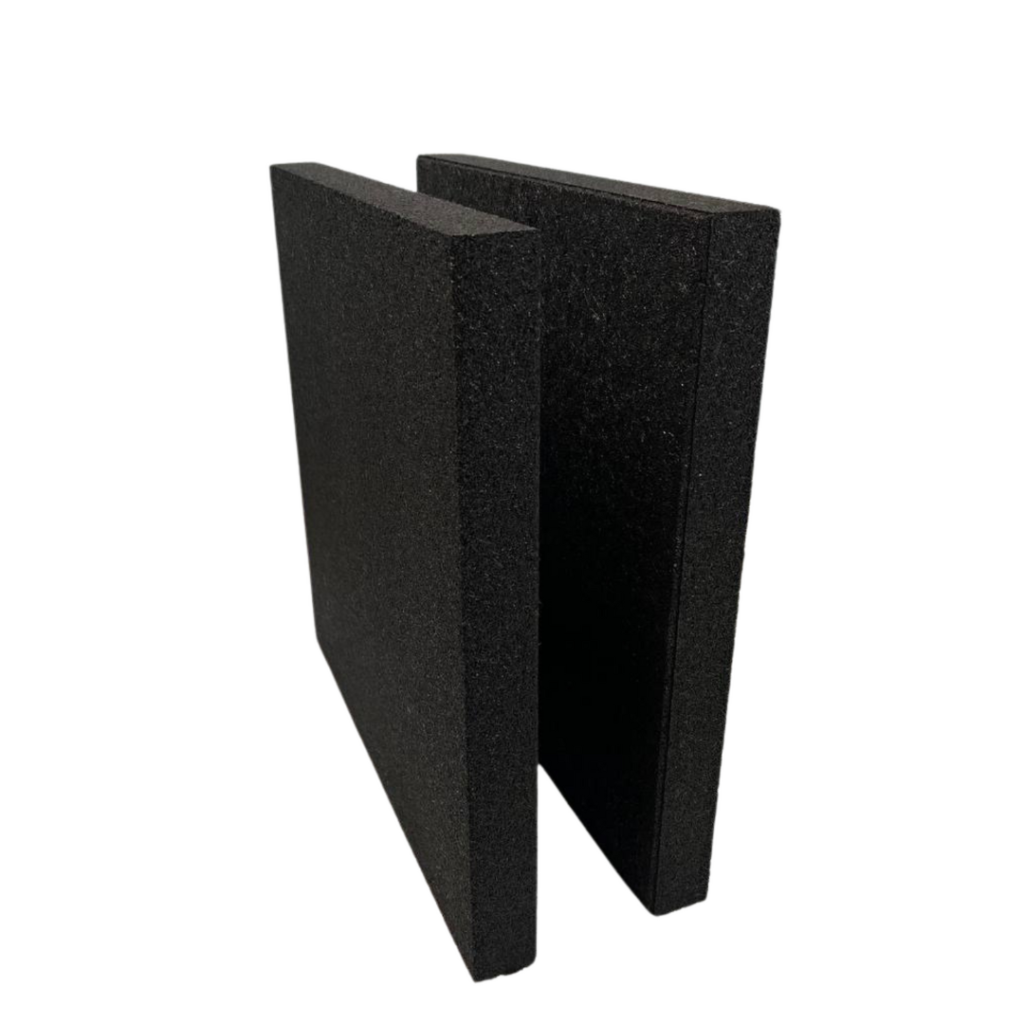
Installation Guide of Ballistic Tiles
Supersafe Ballistic Rubber Tiles are a key component in creating a safe and effective shooting range environment. These tiles, designed to absorb and deflect bullet impact, are ideal for wall applications, offering a crucial layer of ricochet protection.
It’s important to remember that Supersafe Ballistic Rubber Tiles are most effective when used in conjunction with an AR500 steel backing plate. The steel plate acts as the primary barrier, while the rubber ballistic tiles absorb the bullet’s remaining energy and prevent ricochets.
Before commencing installation, a thorough assessment of the concrete wall surface is crucial. Here are some key points to remember:
Suitable Concrete: The wall surface should be structurally sound and appropriate for an indoor shooting range environment.
Curing Time: New concrete requires a minimum of 30 days to fully cure before installation can proceed.
Surface Preparation: Existing concrete may require repairs to address cracks, flaws, or damaged areas. Filling these imperfections with appropriate materials ensures a smooth and secure installation surface.
Joint Sealants and Fillers: Assess the condition of existing joint sealants and fillers. If necessary, replace or repair them to create a uniform and secure base for the ballistic system.

Building a Bullet Trap with AR500 Steel Panels
AR500 steel is the industry standard for bullet traps due to its exceptional ability to stop bullets, ensuring a secure environment for your target practice needs. Please proceed with caution and adhere to all safety regulations when working with firearms and bullet-resistant materials. Please ensure optimal performance by verifying the steel’s Brinell hardness (BHN), it must be between 500BHN-600BHN range.
Steps:
Following all safety regulations, securely fasten the AR500 steel panels to the designated concrete wall structure using appropriate screws and drilling techniques. Consult a qualified professional if necessary for proper installation methods.
- Consider building a support frame using vertical sections of strong square steel tubing. Hardox steel is a popular choice, and you can customize the dimensions (such as 2×2 inches) to suit your needs.
- Leaving a gap of 20-25mm between the steel and floor tiles to allow easier collection of bullet. Promoting efficient cleaning and maintenance of the shooting range.
- Securely screw the ballistic rubber tiles directly onto the hardox square steel. Use appropriate screws that ensure a firm and stable attachment.
- For optimal stability, begin by affixing the ballistic rubber tiles from the ground level and work your way upwards. This ensures each tile is properly supported by the one below it, creating a secure and cohesive structure.
