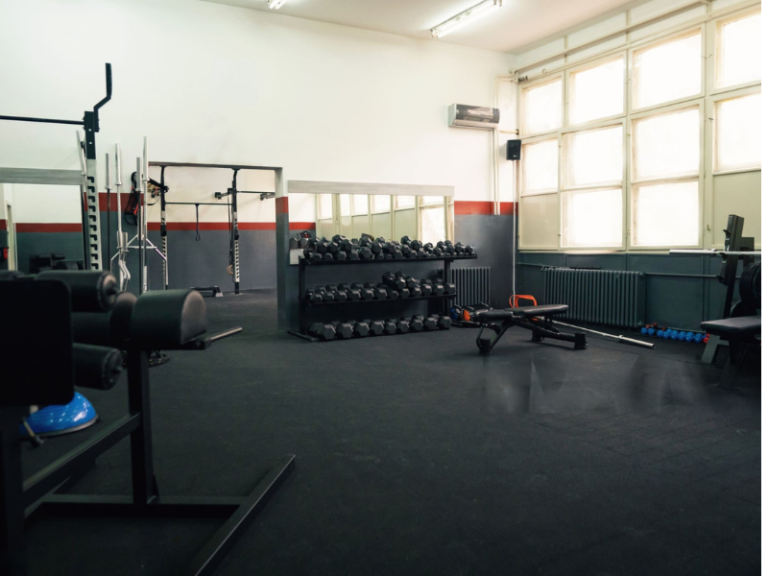
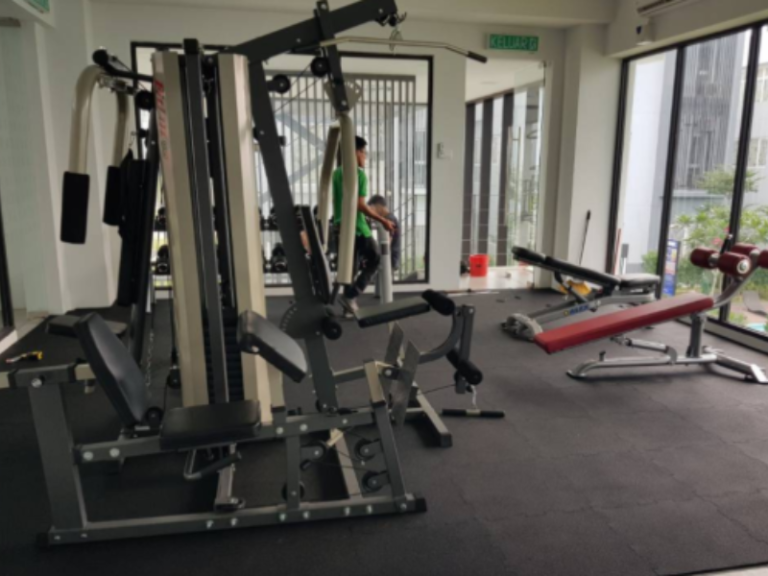
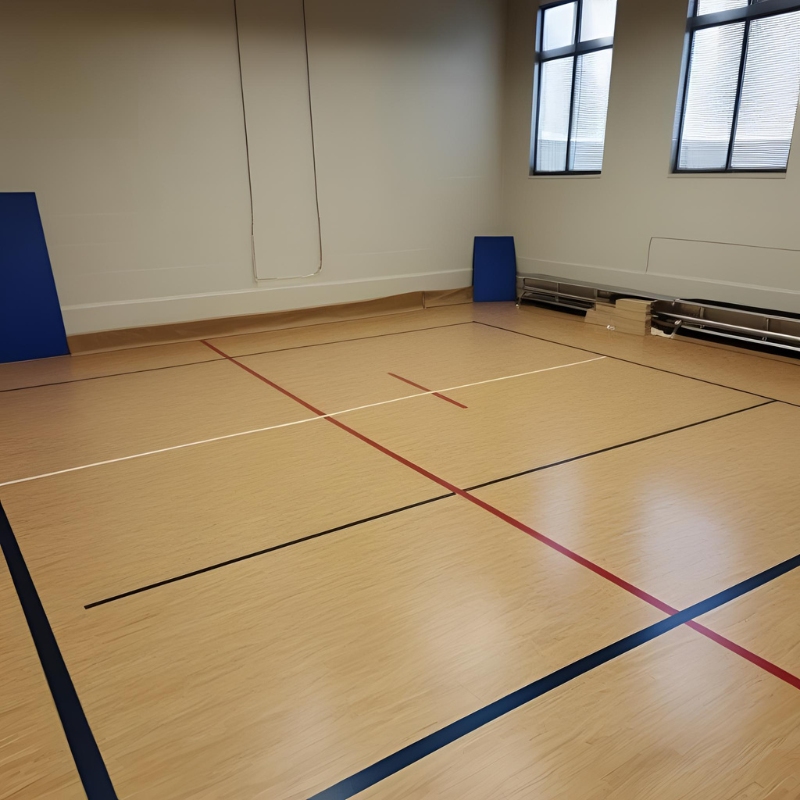
Installing the right gym flooring is one of the most important steps in building a safe, durable, and professional workout space. Whether you’re setting up a home gym, fitness studio, or commercial training center, knowing how to install gym flooring correctly ensures performance, longevity, and safety.
In this guide, we’ll walk you through the tools, materials, and step-by-step instructions you need to install gym flooring like a pro.
What You Will Need
Before you begin, gather the following tools and materials:
- Gym flooring (rubber tiles, rolls, foam tiles, turf, etc.)
- Utility knife or heavy-duty scissors
- Measuring tape
- Straight edge or T-square
- Rubber mallet (for interlocking tiles)
- Adhesive (if required)
- Cleaning supplies
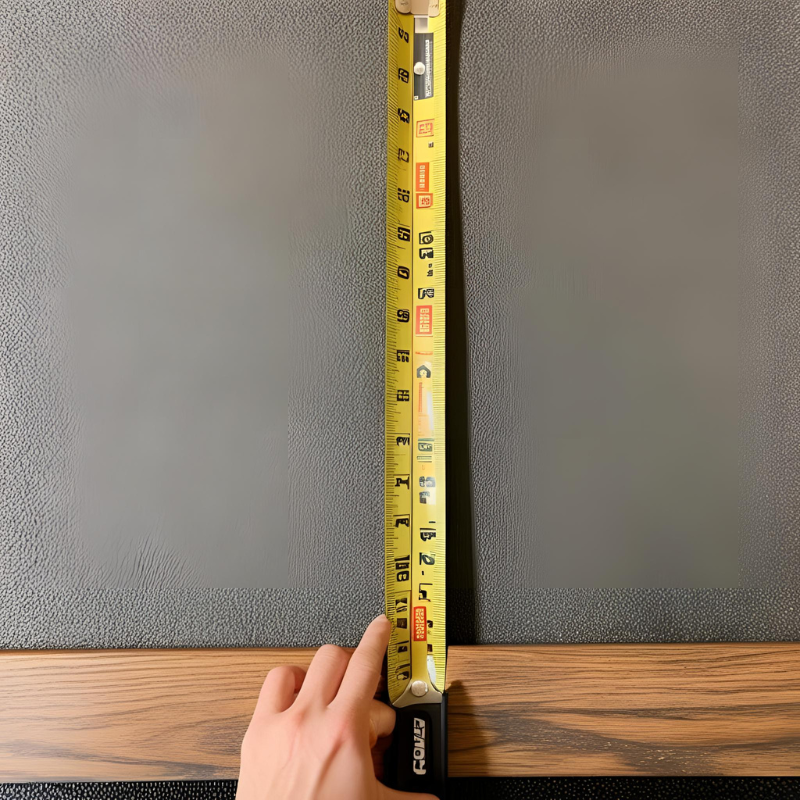
Step 1: Measure Your Space
Accurate measurements are key. Use a measuring tape to calculate the total square footage of your gym area. Don’t forget to account for cutouts around corners, doors, or columns. Add 5–10% extra material to allow for mistakes or future expansion.
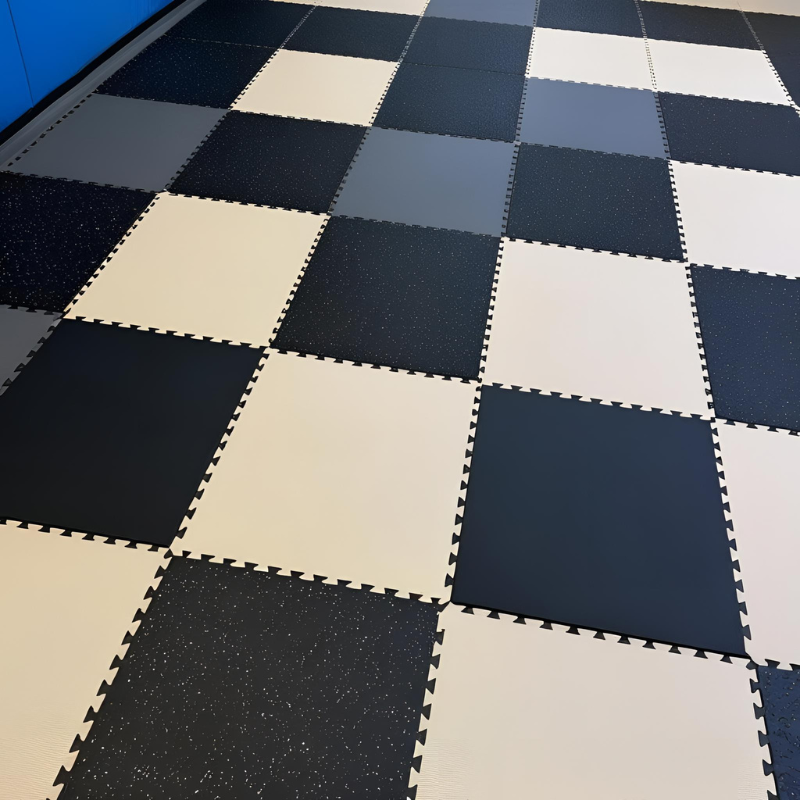
Step 2: Choose the Right Gym Flooring
Different spaces require different flooring types. Here’s a quick breakdown:
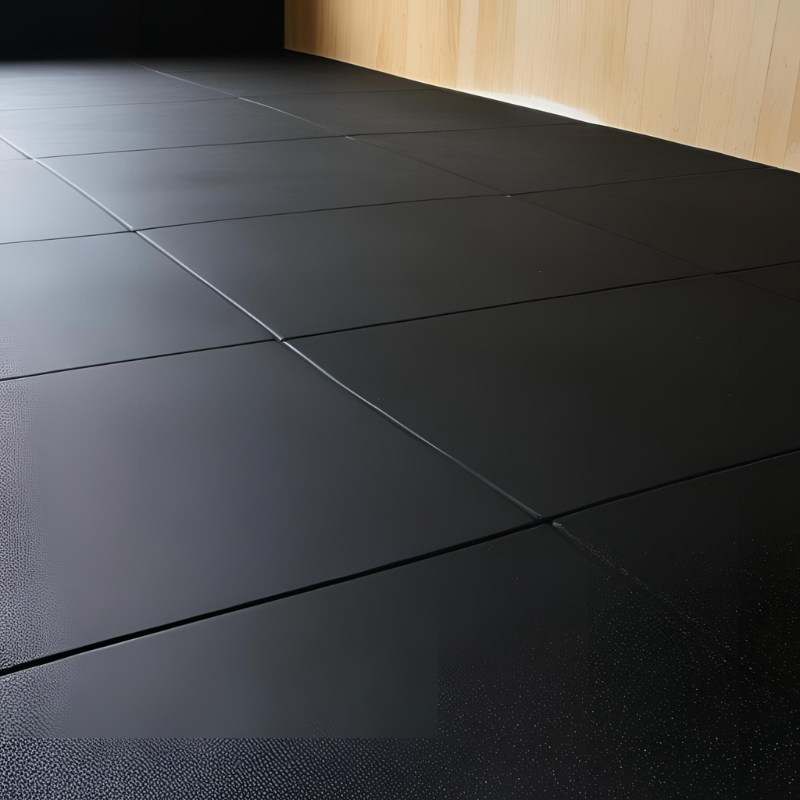
- Rubber Tiles/Rolls: Best for heavy lifting and impact absorption
- Foam Tiles: Ideal for light workouts, yoga, or stretching
- Vinyl Flooring: Great for multi-purpose studios
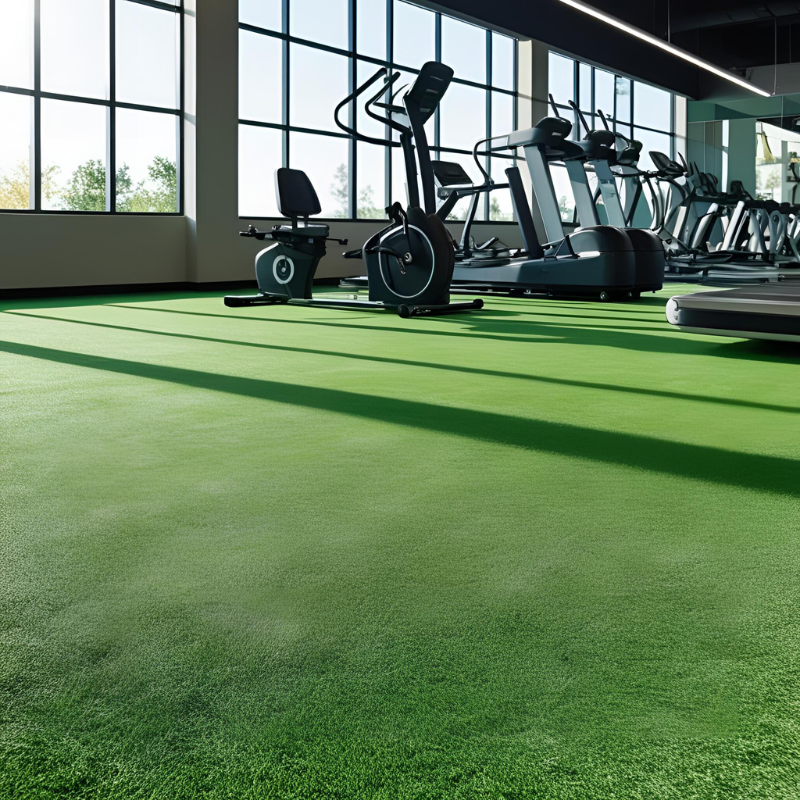
- Turf: Perfect for sled work and agility drills
💡 Need help choosing? Explore gym flooring options here.
Step 3: Prepare the Subfloor
Clean the surface thoroughly. Remove dust, moisture, or debris to ensure proper adhesion and fit. For concrete floors, ensure they are level and dry. Use a moisture barrier if your space is prone to dampness (e.g., garage or basement).


Step 4: Start Laying Your Gym Flooring
For Interlocking Tiles:
- Start in a corner and work your way out.
- Snap tiles together using a rubber mallet if needed.
- Cut edges with a utility knife for a clean fit along walls.
For Rubber Rolls:
- Roll out the rubber and let it sit flat for a few hours.
- Use double-sided tape or adhesive if required.
- Cut excess material for a wall-to-wall fit.
For Turf:
- Unroll the turf and let it relax.
- Secure with adhesive or turf tape.
- Use seam tape for connecting multiple rolls.
Step 5: Trim & Finish the Edges
Use a sharp utility knife along with a sturdy straight edge to carefully trim your gym flooring so it fits snugly against walls, corners, and any fixed obstacles like columns or door frames. Taking the time to measure and cut precisely ensures a clean, professional-looking finish that enhances the overall appearance of your gym space. For best results, make multiple shallow passes with the knife rather than trying to cut through in one go—this helps maintain control and accuracy. Be patient throughout this process; clean and accurate cuts can significantly improve the final look and functionality of your flooring installation.
Step 6: Secure the Flooring (if needed)
Some flooring types (like foam tiles) stay in place without adhesive, while others (rubber rolls or turf) may require double-sided tape or glue, especially in high-traffic or commercial areas.
Step 7: Clean Up and Inspect
Once the flooring is installed, vacuum or mop to remove dust and debris. Check for any loose edges or uneven spots and make final adjustments as needed.
Now that you know how to install gym flooring, you're one step closer to creating a space that supports your fitness goals. Whether it’s a small garage gym or a full-scale studio, quality flooring makes a world of difference in performance, safety, and overall comfort.
✅ Ready to Transform Your Workout Space?
Explore our full range of premium gym flooring options and get expert support on choosing the right fit for your space.
👉 [Whatsapp Us] to get started with your quotation today!